LifeWithMyDogs is supported by our audience. When you purchase through one of our links, we may earn a small affiliate commission. As an Amazon Associate I earn from qualifying purchases. Your cost is not affected.
**********
Safely Clean Your Dog’s Ears
Ear cleaning is an essential element of your dog’s monthly grooming routine. Ear infections are more common in some dog breeds than in others. The frequency with which you clean your dog’s ears is determined by how often your dog has had inner ear infections in the past and whether or not your dog has floppy ears, which are more vulnerable to infection due to retained moisture and debris. Due to the greater airflow, erect ears, on the other hand, require less frequent cleaning.
Cleaning your dog’s ears at home is simple with the correct equipment and procedures. Even if your dog is not prone to illnesses, cleaning the inside of the ear when it becomes unclean is still a good idea. This article will guide you on how to safely clean your dog’s ears and its importance.
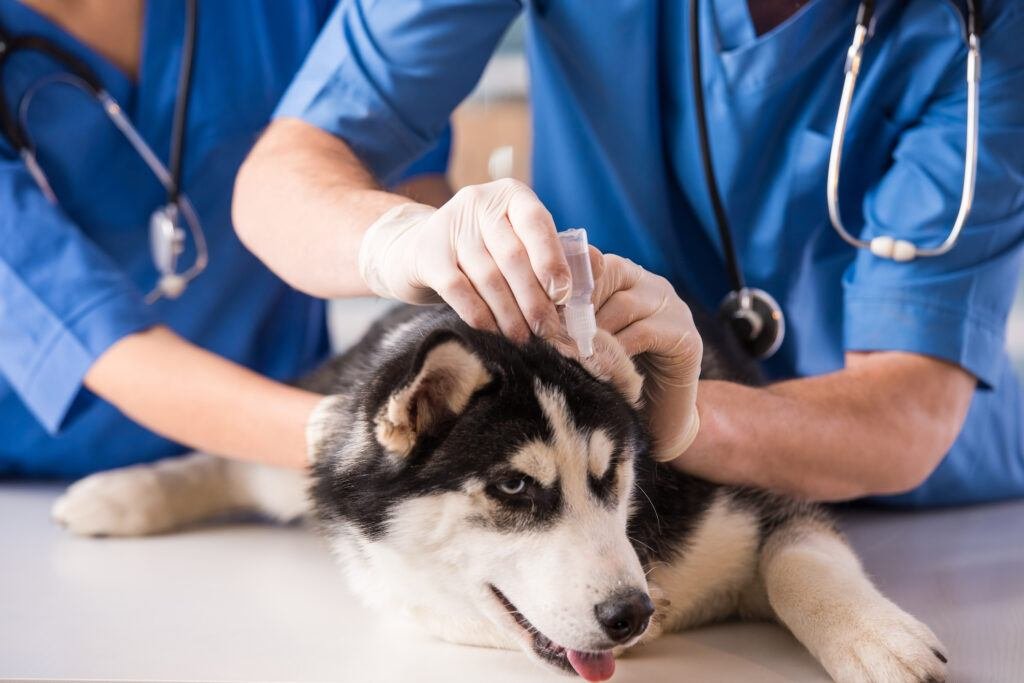
The Importance of Cleaning Your Dog’s Ears
You and your dog may not appreciate cleaning your dog’s ears, but it is necessary for the following reasons:
- Prevent Infections. In your dog’s ears, a buildup of debris and wax can offer food for disease-causing germs. It’s also difficult for medicine to go into the ear when there’s a lot of wax.
- Remove Moisture. Cleaning your dog’s ears will aid in the removal of any extra water or moisture that may have entered their ear when swimming or bathing.
- Get Rid of Weeds. While playing, weeds and other organic materials might become stuck in the dog’s ears. Examine the ears once a week to see whether they’ve fallen out.
- Keep Your Dog Comfortable. Your dog will not only stay healthy if you keep his ears clean, but he will also feel fresh and comfy.
How to Tell When Your Dog’s Ears Need Cleaning
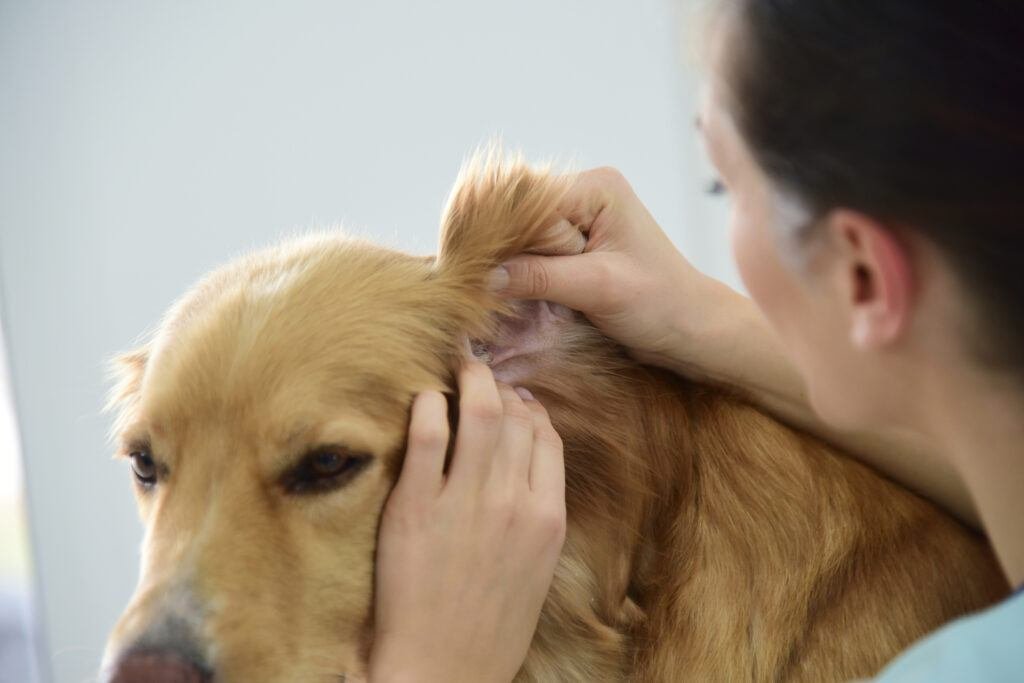
Check to see if your dog genuinely requires ear cleaning before pulling out the dog ear cleaner. Over-cleaning your dog’s ears can cause infection and inflammation, so get to know what a healthy, clean ear looks like (pink, odorless, and not unclean or inflamed) and smells like (not yeasty or smelly), and clean it only when necessary.
Some dogs require ear cleanings just once in a while, while others, such as those prone to ear infections or those who spend a lot of time in the water, may require them more frequently. The Merck Veterinary Manual suggests applying topical astringents and avoiding water from entering the ear canals while bathing to keep the ear canals dry and adequately ventilated in dogs that swim regularly.
It’s probably time for cleaning if you notice a slight stench or your dog shaking his head more than usual. Contact your veterinarian if your dog’s ear seems to be red and inflamed, smells yeasty, or he appears to be in discomfort. These signs and symptoms might suggest an ear infection, fleas or ear mites, or allergies and should be treated by an animal doctor. Cleaning an infected ear may sometimes be more harmful than beneficial.
Ear-Cleaning Supplies
A cotton ball or gauze, a dog ear-cleaning solution, and a towel are all you need to clean your dog’s ears effectively. Cotton-tipped swabs (Q-tips) and anything with a pointed tip should be avoided.
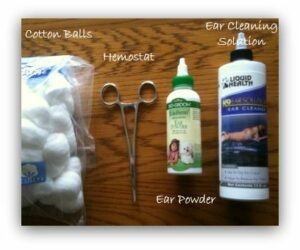
These tools can push dirt and debris further into your dog’s ears, causing infections and possibly inflicting harm to the ear’s inner tissues. While ear cleaning is easy, it may be messy. If your dog shakes his head forcefully when cleaning his ears, you may wish to do so in a restroom or a place that is simple to clean.
The Do’s and Don’ts of Cleaning Your Dog’s Ears
There are a few things to bear in mind before we start the process of cleaning your dog’s ears. Keep the following list of “dos” and “don’ts” in mind:
The Do’s
- Regularly reward your canine all through and directly the following cleaning. It could require some venture for specific canines to get to know having their ears cleaned. We accept that your canine ought to have a magnificent experience, similar to a day at something he truly appreciates.
- When cleaning your ears, be gentle. Ears that are unclean or diseased can be pretty uncomfortable. The eardrum may also be delicate.
- Ask your veterinarian about how frequently you ought to clean your canine’s ears. The response fluctuates in light of the canine’s way of life, ear conformity, breed, and past history of ear issues.
- Use an ear cleaning specifically made for dogs.
The Don’ts
- Try not to utilize ear cleaners that incorporate alcohol or hydrogen peroxide (or utilize straight alcohol or peroxide). These substances may be disturbing to the ears and bring about additional distress.
- Try not to utilize Q-tips (cotton-tipped tools) while cleaning your canine’s ears. In the event that Q-tips are set excessively profound into the ear, they could harm the eardrum. Q-tips likewise can drive material more profound into the ear, which is counterproductive. Now and again, your veterinarian or veterinary medical attendant might utilize Q-tips, however, provided that they know how to appropriately make it happen.
- Do not clean your dog’s ears with water. It can retain additional junk and not break down wax as effectively as a good ear cleaning product.
- Do not pull the hair off your dog’s ears. Occasionally, plucking can cause further damage to the ear and be uncomfortable. Sometimes, the vet may need to remove some hair from the ear canal. However, this should be left to their professional judgment.
How to Safely Clean Your Dog’s Ears With These Steps
Since it is now so obvious why canines foster foul ears and a portion of the “do’s” and “don’ts” of ear cleaning, now is the ideal time to figure out how to clean your canine’s ears securely. We’ve dense the methodology into ten simple tasks to make ear cleaning charming and simple for everybody.
Prepare Your Supplies
You’ll require a canine’s ear cleaning arrangement. It very well may be one you got off the rack or from your veterinarian. Additionally, get something to clean your canine’s ears of debris. Non-grating decisions incorporate bits of a spotless old T-shirt, cosmetics evacuation cushions (with no substance on them), dressing, or cotton balls. You ought to likewise get any medication your vet proposes for your canine’s ears.
Hold the Ear Flap
Pull the ear flap upwards by gently grasping the tip. It will reveal the ear canal and the interior of the ear.
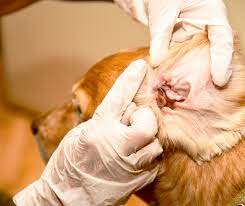
Apply the Cleaner to the Ear
It may be accomplished in two ways. Applying the ear wash straight into the ear canal is one approach. To use this procedure, carefully push the bottle’s tip into the ear canal and compress it.
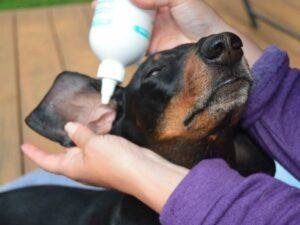
The second option is ideal for dogs who don’t enjoy the feeling of ear wash going into their ears. Instead of pouring the cleaner into the ear canal, use a cotton ball to apply a large amount of the ear wash. The cotton ball should then be inserted straight into the ear. Make sure the cotton ball is big enough that if you release go, it won’t fall too far down into your dog’s ear canal, and you won’t be able to reach it.
Massage the Base of the Ear
You must now massage the base of the ear, whether you applied the wash directly to the ear or placed an ear cleaner-soaked cotton ball in the canal. Gentle enough not to damage your dog, yet forceful enough to hear the ear wash swishing around in the canal.
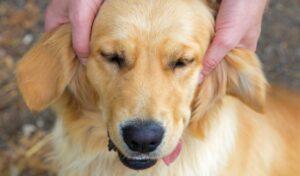
Allow Your Dog to Shake Their Head
Due to the sensation of ear wash in the ear canal, your dog may desire to shake his head. It’s not only acceptable, but it’s beneficial. Shaking their head will assist in getting the wash further into the canal, breaking up additional material. It’s also possible that it’ll bring detritus to the surface.
Wipe Out the Ear
After massaging the ear wash completely down the canal, it’s time to wipe away the broken-down material and wax. If there is still a cotton ball in your ear, remove it instantly. Using your finger and gauze, gently wipe the ear canal (or whatever you are using instead). In the ear canal, gently clean the ear canal with your finger and gauze in a circular motion. Take your finger and the gauze out of the ear to remove the debris.
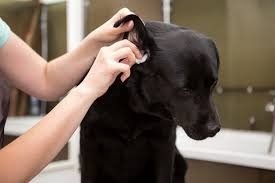
Repeat As Needed
You may have to repeat steps 3 to 6 numerous times to clean the ear thoroughly. Repeat the technique until you’re not getting any debris with each wipe.
Wipe the Ear Flap
The inside of the dog’s ear flap might also become soiled. Once the canal is clear, use an ear wash-soaked cotton ball to clean the inner ear flap.
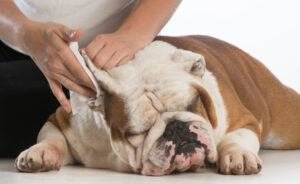
Double Check Your Work
Always double-check that your dog’s ears are free of gauze or cotton balls. It might be pretty inconvenient for them, increasing the chances of an ear infection.
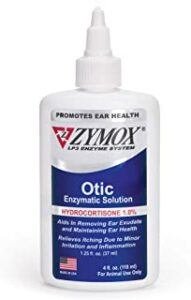
Apply Medications (If Needed)
If your veterinarian has recommended medicine for your dog, follow the directions on the label carefully.
Remember to try your best to make cleaning your dog’s ears a pleasurable experience the entire time. As a reward, use food and praise. If your dog is becoming stressed by the process, give them a little rest. If you have any questions or concerns regarding how to safely clean your dog’s ears, ask a member of your dog’s veterinary staff to demonstrate it or assist you with troubleshooting.
Conclusion
Hopefully, you now understand how to safely clean your dog’s ears and are prepared to take on the chore with confidence. It may seem daunting at first, but you and your dog will likely get acclimated to the schedule in no time. It should eventually become second nature to you and pleasant for your dog.
Contact your veterinarian team if this isn’t the case. Initially, not all dogs will appreciate ear cleaning, particularly if they dislike touching their ears. However, the veterinary experts can show you procedures that can help your dog come to appreciate — or at least tolerate — ear cleaning.
Also, if your dog’s ears seem to be getting worse or not improving after ear cleaning, or if you have any other concerns, call your veterinarian right once.
Read More:


